Water damage can strike your property unexpectedly, whether from a burst pipe, a severe storm, or a hidden leak. The aftermath can be overwhelming, but understanding the water removal process is needed for a swift and effective recovery. Clean Build Restoration, a leading provider of water damage restoration and flood restoration services, understands the urgency and sensitivity of these situations. Clean Build Restoration will walk you through the basic steps involved in water removal, explaining what you can expect and how professionals like Clean Build Restoration work to restore your property. From initial inspection to final repairs, we’ll cover everything you need to know about how the water removal process works.

Understanding the Importance of Prompt Water Removal
Water damage, whether from a minor leak or a major flood, presents a serious challenge to both the structure of a building and the well-being of its occupants. Acting quickly to remove water is vital for minimizing damage and providing a smooth restoration process.
Why Immediate Action is Critical After Water Damage
The period immediately following water damage is very important. The longer water sits in contact with building materials and personal belongings, the greater the potential for irreversible harm. Here’s why taking action without delay is so important:
- Limiting the Spread: Water moves rapidly, soaking into walls, floors, and ceilings. Removing it promptly can contain the affected area, reducing the amount of restoration needed and keeping costs down. Standing water can also seep into the building’s structure, causing warping, cracks, and even problems with the foundation if not addressed.
- Preventing Mold: Mold thrives in damp conditions. Within as little as 24-48 hours after water exposure, mold can start to grow, leading to health risks and expensive removal procedures. Quick water removal and drying are key to stopping mold from taking hold.
- Protecting Your Possessions: Furniture, electronics, documents, and other personal items are easily damaged by water. Taking immediate steps to remove these items from the affected areas and begin drying them can help salvage valuable belongings.
- Reducing Health Risks: Apart from mold, contaminated water can harbor bacteria, viruses, and other harmful microorganisms. Removing water and sanitizing the area promptly is necessary to protect the health of those inside.
- Minimizing Financial Loss: The longer water damage remains unaddressed, the worse it gets, leading to higher repair costs. Fast action can help keep these costs down and speed up the restoration process, allowing people to return to their homes or businesses sooner.
- Maintaining Structural Integrity: Water can weaken important structural parts of a building, like framing, joists, and subflooring. Drying these components quickly is fundamental to prevent damage and keep the building safe and stable.
The Risks of Delaying Water Removal
Putting off water removal can have serious consequences, making the initial damage worse and leading to a chain of problems:
Severe Damage to the Building: Long-term exposure to water can cause rotting, decay, and weakening of the structure, potentially compromising the safety of the building. This can lead to expensive and lengthy repairs, possibly even requiring parts of the building to be torn down and rebuilt.
Widespread Mold: Mold growth is a major concern after water damage. Delaying water removal creates the perfect conditions for mold to spread quickly, potentially posing health risks to occupants. Getting rid of mold can be a complicated and costly process.
Contamination and Health Issues: Standing water can become contaminated with sewage, chemicals, or other hazardous substances, creating health risks. Delaying water removal increases the chances of exposure to these contaminants, potentially causing illness.
Loss of Belongings: The longer belongings are exposed to water, the higher the likelihood of permanent damage. Delaying water removal can result in the loss of valued possessions, causing both emotional and financial distress.
Higher Costs: Ignoring water damage for longer periods makes the restoration process more extensive and complex, notably increasing costs. Delays can also lead to secondary issues like mold, adding further expense.
Poor Indoor Air Quality: Water damage can raise humidity levels, creating an environment where dust mites, bacteria, and other allergens thrive. This can worsen indoor air quality and aggravate respiratory conditions.
In short, prompt water removal is fundamental for protecting your property, health, and finances.
Addressing water damage quickly and efficiently is key to minimizing the impact of the event and ensuring a successful restoration. Hiring a qualified water damage restoration professional like Clean Build Restoration is needed for fast and effective water removal and restoration.
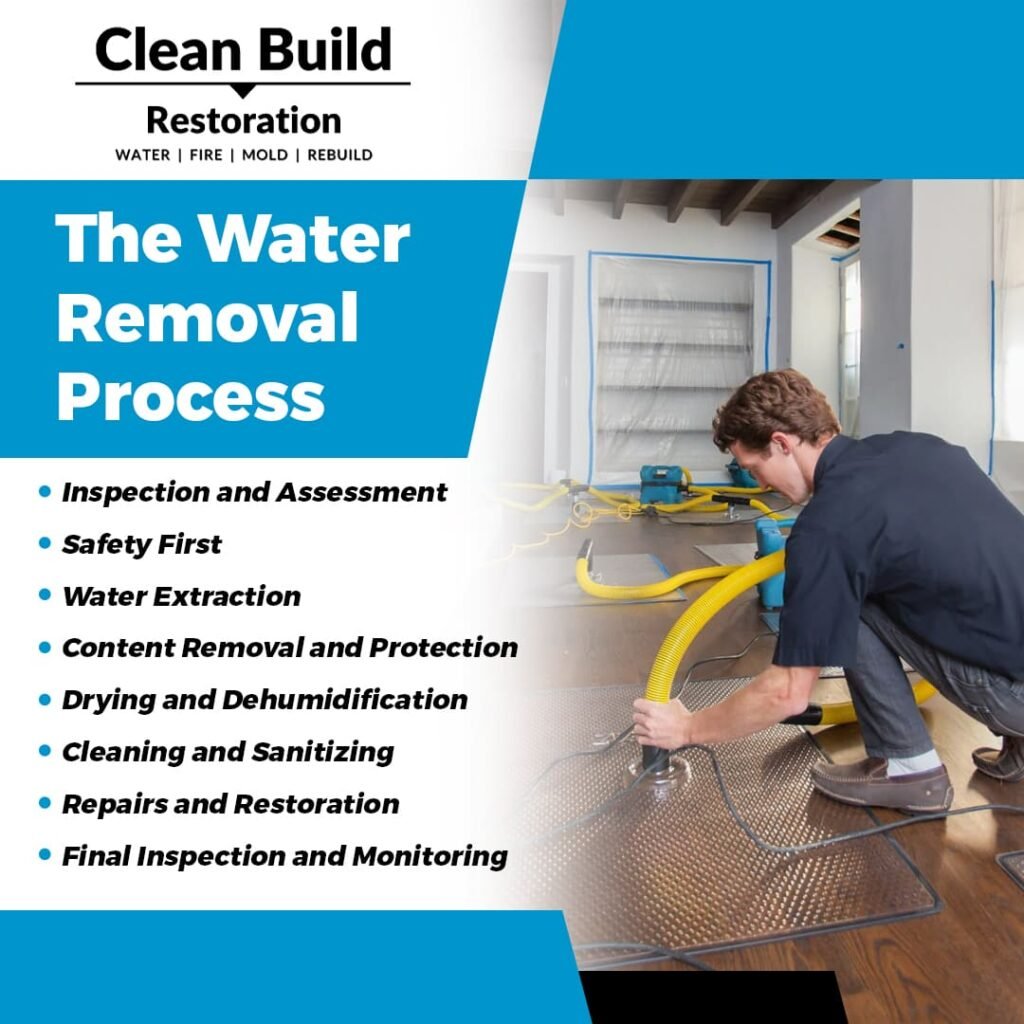
The Water Removal Process: A Step-by-Step Guide
Effective water damage restoration requires a systematic approach to make sure of thoroughness and prevent overlooking critical aspects. Here’s a step-by-step guide to the water removal process:
Step 1: Inspection and Evaluation
Before any action can be taken, a detailed inspection and evaluation of the water damage are needed. This involves:
Identifying the Source and Extent of Water Damage
- Locating the Source: Pinpointing the origin of the water damage is necessary for preventing further water intrusion. This may involve inspecting plumbing systems, roofs, windows, and appliances.
- Determining the Scope: Evaluating the extent of the damage helps determine the necessary resources and equipment for effective water removal. This includes evaluating the affected area, the level of saturation, and any potential structural damage.
Categorizing the Water Damage (Black, Gray, Clean)
Water damage is categorized into three classes based on the level of contamination:
- Blackwater: Extremely contaminated with sewage, bacteria, and other pathogens; poses serious health risks and necessitates specific handling and disposal procedures.
- Gray water: Contains some contaminants, such as soap, detergent, or urine; it may cause discomfort or illness if ingested or if it comes into contact with open wounds.
- Clean water: This water comes from a clean source, such as a broken supply line or rainwater. It poses minimal health risks but can still cause damage if not managed promptly.
Categorizing the water damage helps determine the appropriate safety precautions and restoration procedures.
Black water damage, for instance, necessitates more stringent safety measures and may require professional remediation due to the health hazards involved.
Step 2: Prioritizing Safety
Before any water removal work begins, making sure the safety of both occupants and water damage restoration professionals is paramount. This involves:
Protecting Occupants and Restoration Professionals
- Personal Protective Equipment (PPE): Depending on the category of water damage, appropriate PPE such as gloves, masks, and eye protection should be worn to minimize exposure to contaminants.
- Safe Access: Clear pathways and secure any unstable structures to prevent slips, trips, and falls. This may involve removing debris, using caution tape, and providing adequate lighting.
- Awareness of Hazards: Be mindful of potential hazards such as sharp objects, broken glass, and exposed nails. Communicate these hazards clearly to everyone involved in the restoration process.
- Hygiene Practices: Promote frequent handwashing and provide access to hand sanitizer to minimize the spread of germs and bacteria.
Addressing Electrical Hazards
Water and electricity are a dangerous combination. Taking precautions to address electrical hazards is important:
- Shut Off Power: If safe to do so, turn off the electricity to the affected areas at the main breaker panel to prevent electrocution.
- Avoid Contact with Water and Electrical Equipment: Do not touch or attempt to operate any electrical equipment or appliances that have been exposed to water.
- Professional Electrician: If there is any doubt about the safety of electrical systems, consult a qualified electrician to inspect and repair any damage.
By prioritizing safety in the initial stages of water removal, you can create a secure environment for everyone involved and prevent further accidents or injuries.
Step 3: Water Extraction
Once the evaluation and safety measures are in place, the actual water removal process begins. This typically involves:
Utilizing Powerful Pumps and Vacuums
- Submersible Pumps: Used for extracting large volumes of water from flooded areas, basements, or crawl spaces. These pumps are designed to handle debris and solids, making them effective for removing standing water.
- Truck-Mounted Extraction Units: Powerful vacuum systems mounted on trucks that can quickly remove substantial amounts of water. They are particularly useful for large-scale water damage events.
- Portable Extraction Units: Smaller, more portable units suitable for extracting water from smaller areas or hard-to-reach spaces.
Removing Standing Water
The goal is to remove as much standing water as possible to minimize further damage and create a drier environment for subsequent drying and restoration efforts. This may involve:
- Systematic Extraction: Starting from the lowest point and working outwards to ascertain efficient water removal.
- Accessing Hidden Water: Removing water trapped beneath carpets, padding, and furniture. This may involve lifting or removing these items to access the water underneath.
- Monitoring Progress: Regularly check water levels and adjust extraction methods as needed to make sure of thorough removal.
The water extraction phase is critical for preventing further damage and setting the stage for the drying and dehumidification process.
Step 4: Content Removal and Protection
After extracting the standing water, the focus shifts to protecting and salvaging the contents of the affected property. This involves:
Moving Furniture and Belongings
- Relocation: Carefully move furniture, appliances, and other belongings to a safe, dry location to prevent further damage. This may involve moving items to higher ground or to unaffected rooms.
- Inventory: Creating a detailed inventory of all items moved or damaged to assist with insurance claims and restoration planning.
- Prioritizing Valuables: Giving priority to sensitive items such as electronics, documents, and artwork, which are particularly susceptible to water damage.
Protecting Sensitive Items from Further Damage
- Specialized Packing: Using appropriate packing materials and techniques to protect delicate items during storage or transport. This may involve wrapping items in protective coverings, using moisture-absorbent materials, and securing them in sturdy containers.
- Climate-Controlled Storage: If necessary, store sensitive items in a climate-controlled environment to prevent damage from fluctuations in temperature and humidity.
- Professional Cleaning: Arranging for professional cleaning and restoration of valuable items such as rugs, upholstery, and artwork.
Content removal and protection is an important step in minimizing losses and preserving valuable possessions. By taking proactive steps to safeguard your belongings, you can reduce the emotional and financial impact of water damage.
Step 5: Drying and Dehumidification
With the standing water removed, the next critical step is thoroughly drying the affected areas and reducing moisture levels to prevent mold growth and further damage. This involves:
Employing Air Movers and Dehumidifiers
- Air Movers: Powerful fans that circulate air and accelerate the evaporation of moisture from surfaces. They are strategically placed to create airflow throughout the affected areas.
- Dehumidifiers: Machines that remove moisture from the air, reducing humidity levels and further aiding the drying process. Different types of dehumidifiers are available, including refrigerant, desiccant, and whole-house dehumidifiers, each with its advantages and applications.
Monitoring Moisture Levels
- Moisture Meters: Used to measure the moisture content of building materials, such as walls, floors, and ceilings. This helps identify areas that require additional drying efforts.
- Regular Monitoring: Continuously monitor moisture levels throughout the drying process to ascertain that all affected areas are drying evenly and thoroughly. This may involve taking multiple readings over time to track progress.
The drying and dehumidification phase can take several days or even weeks, depending on the extent of the water damage and the environmental conditions. Proper drying is needed to prevent mold growth and ascertain the long-term integrity of the building.
Step 6: Cleaning and Sanitizing
Once the affected areas are thoroughly dry, the next step is to clean and sanitize all surfaces to remove any remaining contaminants and prevent the growth of mold and bacteria. This involves:
Cleaning Affected Surfaces
- Thorough Cleaning: Cleaning all affected surfaces, including walls, floors, ceilings, and any remaining contents, using appropriate cleaning solutions. The type of cleaning solution will depend on the category of water damage and the type of surface being cleaned.
- Removing Debris: Removing any remaining debris, such as dirt, silt, and damaged materials, for a clean and sanitary environment.
- Addressing Odors: Using odor neutralizers or deodorizers to eliminate any lingering musty smells caused by water damage.
Applying Antimicrobial Treatments
- Antimicrobial Solutions: Applying antimicrobial solutions to prevent the growth of mold, mildew, and bacteria. These solutions are particularly important in areas that are prone to moisture, such as bathrooms and kitchens.
- Disinfectants: Using disinfectants to kill any remaining pathogens for a safe and healthy environment.
- Following Safety Guidelines: Following the manufacturer’s instructions and safety guidelines when using cleaning solutions and antimicrobial treatments.
The cleaning and sanitizing step is vital for restoring a healthy and hygienic environment after water damage. By taking thorough steps to remove contaminants and prevent microbial growth, you can be sure of the safety and well-being of occupants.
Step 7: Repairs and Restoration
After cleaning and sanitizing, the focus shifts to repairing any structural damage and restoring the property to its pre-water damage condition. This may involve:
Repairing Structural Damage
- Evaluating Structural Integrity: Evaluating the extent of damage to structural components such as walls, floors, ceilings, and the foundation. This may involve consulting with a structural engineer to determine the necessary repairs.
- Addressing Damage: Repairing or replacing damaged structural elements to ascertain the stability and safety of the building. This may involve reinforcing weakened structures, replacing rotted wood, or repairing cracks in the foundation.
Replacing Damaged Materials
- Removing Unsalvageable Materials: Removing and disposing of any materials that are beyond repair, such as waterlogged drywall, insulation, or flooring.
- Selecting Replacement Materials: Choosing appropriate replacement materials that are resistant to moisture and mold growth. This may involve considering factors such as durability, aesthetics, and cost.
- Installation: Installing new materials to restore the property to its original condition or an improved state. This may involve drywall installation, painting, flooring replacement, and other finishing work.
The repairs and restoration phase can be extensive, depending on the severity of the water damage. It is necessary to address all damage thoroughly to prevent future problems and make sure the long-term value of the property is maintained.
Step 8: Final Inspection and Monitoring
Even after water damage restoration and flood restoration services are complete, the job isn’t finished. A final inspection and ongoing monitoring are necessary to ascertain the property is truly dry and to prevent future issues. This includes:
Ensuring Complete Dryness
- Moisture Meter Readings: Take final moisture readings with a moisture meter to confirm that all materials have reached acceptable dryness levels. This helps identify any hidden pockets of moisture that may have been missed during the drying process.
- Visual Inspection: Carefully inspect all areas for signs of lingering dampness, such as water stains, discoloration, or musty odors.
- Thermal Imaging: Using thermal imaging cameras to detect temperature differences that may indicate hidden moisture. This technology can be particularly helpful in identifying moisture behind walls or under floors.
Checking for Mold Growth
- Visual Inspection: Regularly inspect the property for any signs of mold growth, such as black spots, fuzzy patches, or discoloration.
- Air Quality Testing: Conducting air quality tests to check for elevated levels of mold spores. This can help identify mold problems early on, even before they become visible.
- Ongoing Monitoring: Maintaining vigilance for signs of mold growth, especially in areas that are prone to moisture, such as bathrooms and basements.
The final inspection and monitoring phase is fundamental for providing long-term health and safety of the property. By taking these steps, you can be confident that the water damage has been fully addressed and that the property is restored to a safe and habitable condition.
Choosing a Professional Water Removal Company
While some minor water damage incidents can be handled with DIY efforts, it’s often advisable to engage a professional water removal company, especially for larger-scale events or when dealing with contaminated water. Here’s what to consider:
What to Look for in a Restoration Company
- Experience and Expertise: Choose a company with a proven track record in water damage restoration. Look for certifications from reputable organizations, such as the Institute of Inspection, Cleaning and Restoration Certification (IICRC).
- Availability and Response Time: Water damage requires prompt action. Select a company that offers 24/7 emergency services and can respond quickly to your needs.
- Equipment and Resources: The company should have the necessary equipment and resources to handle the scope of your water damage, including powerful extraction units, dehumidifiers, and drying equipment.
- Insurance and Licensing: Verify that the company has the necessary insurance and licenses to operate in your area. This protects you from liability in case of accidents or damage.
- Customer Reviews and Testimonials: Read online reviews and testimonials from previous customers to get an idea of the company’s reputation and customer service.
The Benefits of Hiring Professionals
- Efficiency and Effectiveness: Professionals have the experience, knowledge, and specialized equipment to handle water removal quickly and efficiently, minimizing further damage and downtime.
- Safety: They are trained to handle safety hazards associated with water damage, such as electrical risks and contaminated water.
- Reduced Stress: Dealing with water damage can be stressful. Hiring professionals allows you to focus on other priorities while they handle the restoration process.
- Insurance Claims Assistance: Many restoration companies can assist with insurance claims, documenting the damage and providing necessary paperwork.
- Comfort: Knowing that your property is in the hands of experienced professionals can provide comfort during a difficult time.
Preventing Future Water Damage
While not all water damage incidents are preventable, taking proactive steps can reduce the risk of future events. This includes:
Identifying Potential Water Damage Sources
- Plumbing System: Check pipes, fixtures, and appliances for leaks or corrosion on a regular basis
- Roof and Gutters: Maintain your roof and gutters to ensure adequate drainage and stop water intrusion
- Appliances: Check and maintain appliances like water heaters, dishwashers, and washing machines to avoid leaks
- Landscaping: Make certain that the property is graded properly to divert water away from the foundation.
Implementing Preventative Measures
- Water Leak Detection Systems: Consider installing water leak detection systems that can alert you to leaks early on.
- Regular Maintenance: Schedule regular maintenance for your plumbing system, appliances, and roof to identify and address potential problems before they cause damage.
- Proper Ventilation: Make sure adequate ventilation in areas prone to moisture, such as bathrooms and kitchens, to prevent condensation and mold growth.
- Emergency Preparedness: Have a plan in place for dealing with water damage emergencies, including knowing who to call and what steps to take.
Restoring Your Property
Although dealing with water damage can be upsetting and frustrating, you can help repair your property by being proactive and knowing how to remove the water. By following the steps outlined in this blog and, if required, seeking the assistance of qualified professionals like Clean Build Restoration in Eden Prairie, you can successfully handle the challenges of water damage and guarantee a speedy recovery. With the knowledge and tools necessary to handle any water damage issue successfully, Clean Build Restoration provides professional flood and water damage restoration services. Recall that limiting damage and averting long-term issues require quick action.
Need Help with Water Damage?
Don’t face water damage alone. Contact the experts at Clean Build Restoration in Eden Prairie for immediate assistance. We’re available 24/7 to help you restore your property. Call us at (612) 234-8958 or email us at pam.holmes@cleanbuildrestoration.com.